The Complete Guide To Laserliner Aircheck Clima: Specifications, Pros And Cons, Troubleshooting, And Buying Tips
Table of Contents
Laserliner AirCheck Clima Information
the information about the Laserliner AirCheck Clima:
Introduction
The Laserliner AirCheck Clima is a digital hygrometer that measures the ambient temperature and relative humidity. It also has a timer function, a min/max function, and an air humidity warning. The AirCheck Clima is a great way to keep track of the air quality in your home and to make sure that it is comfortable for you and your family.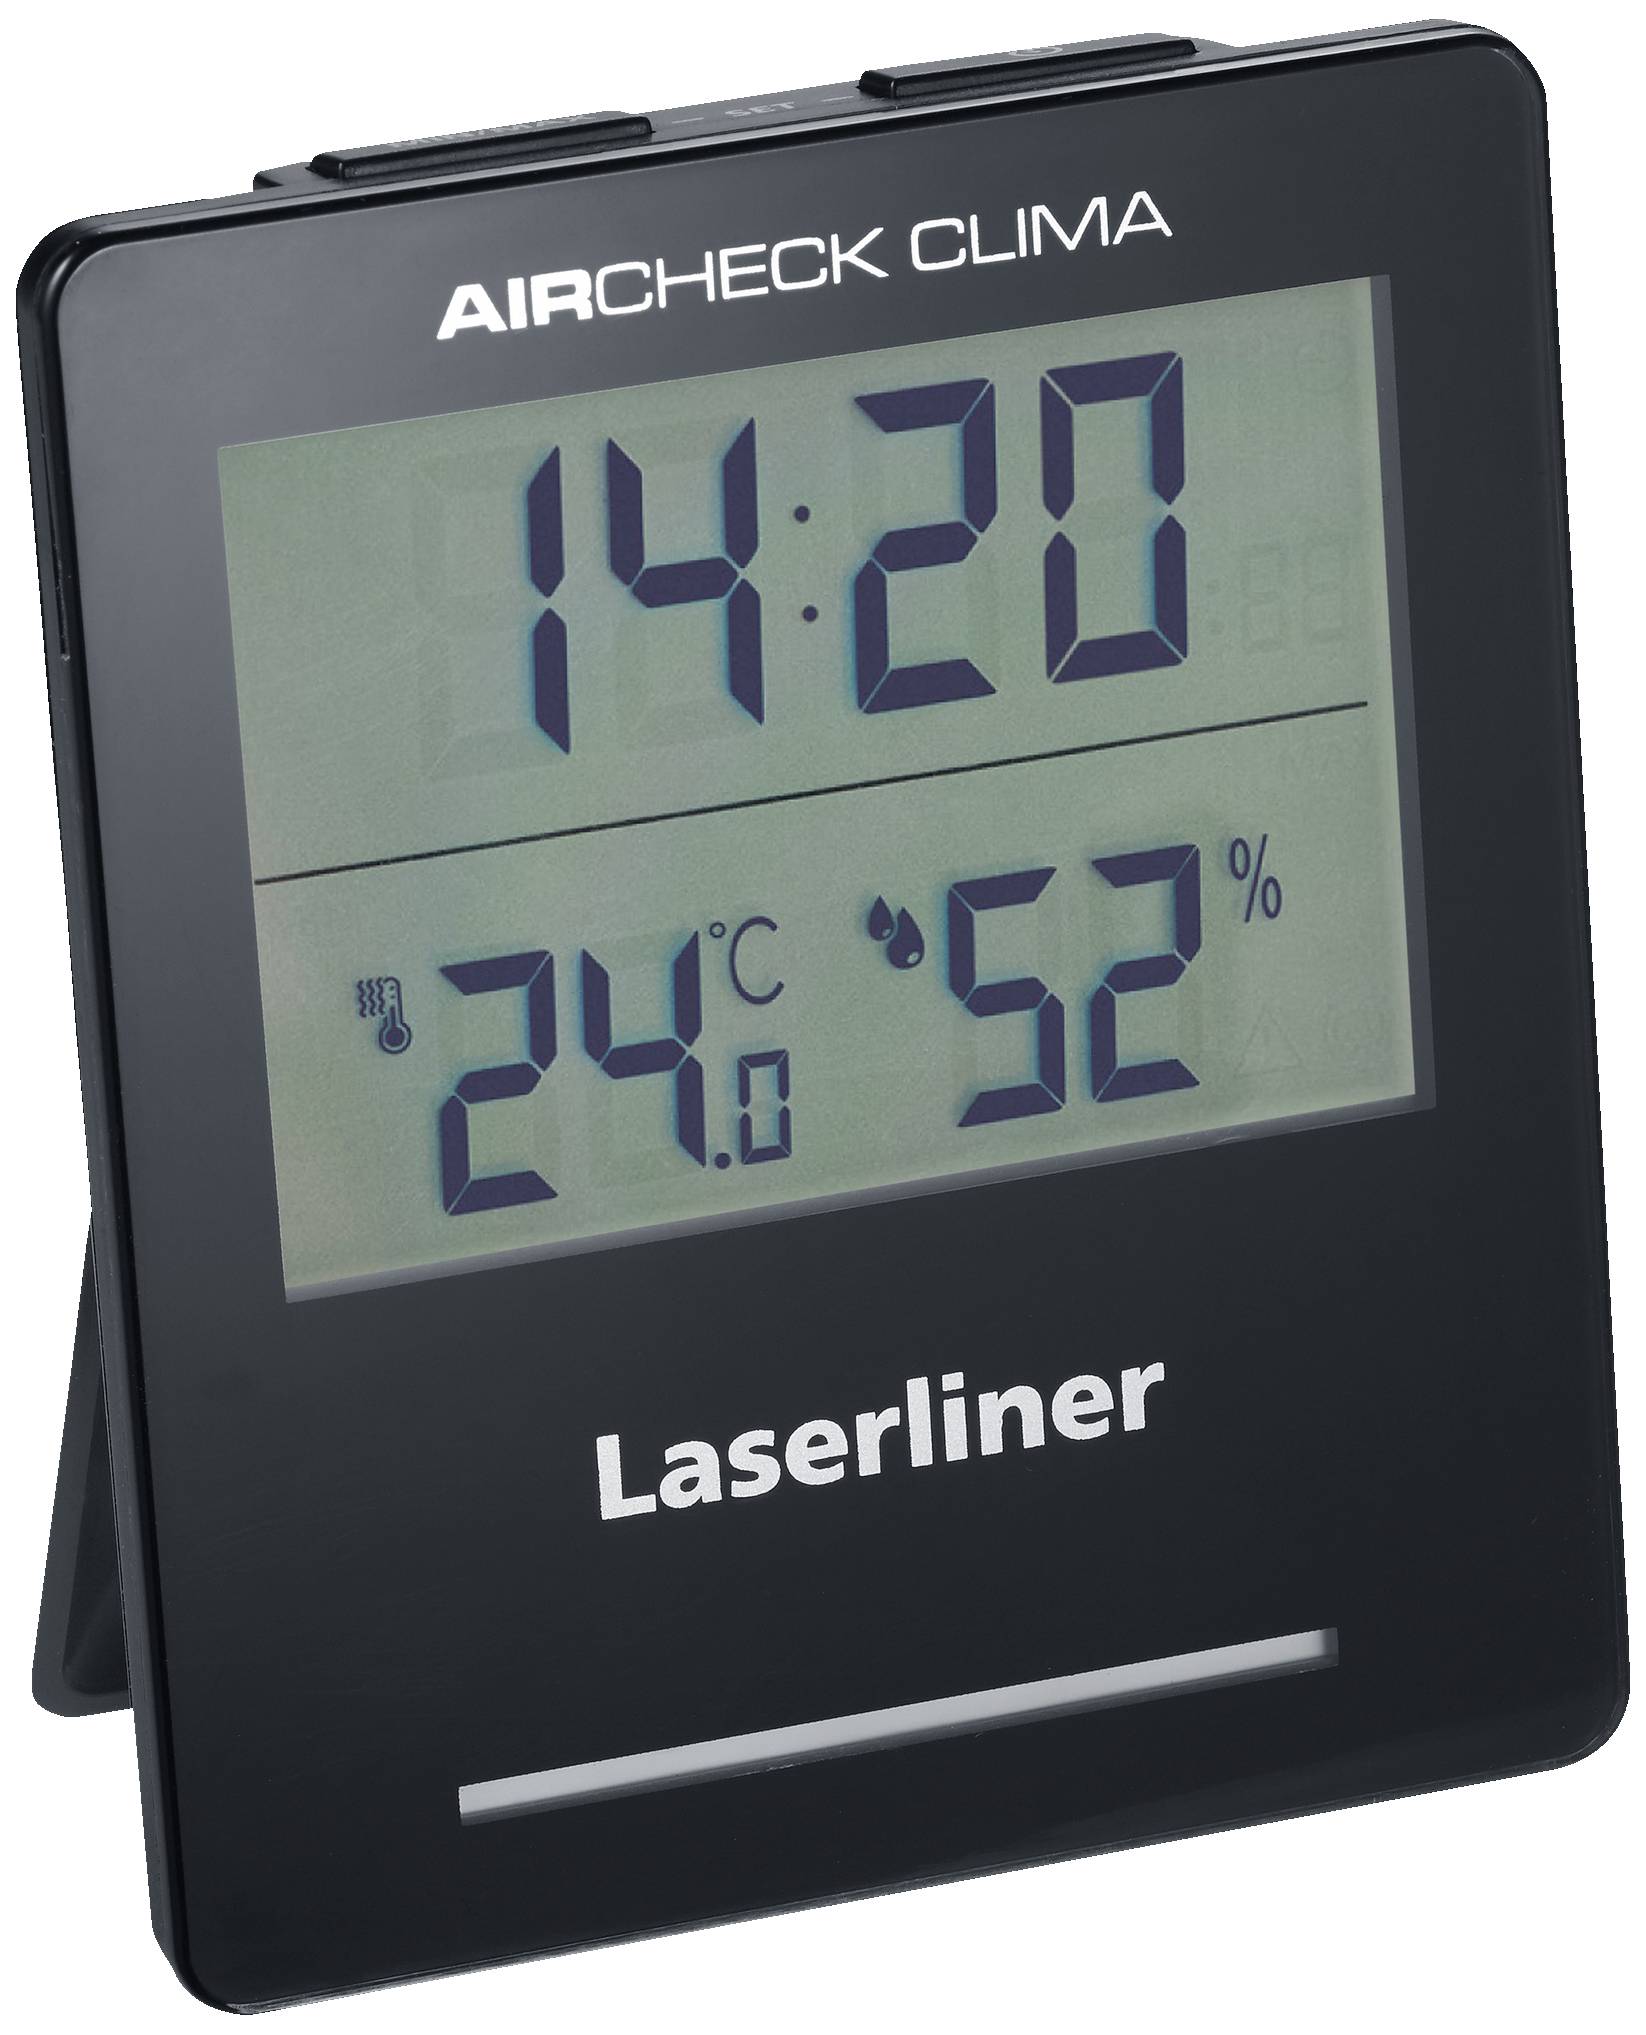
Full Specifications
Here is a table of the full specifications for the Laserliner AirCheck Clima:
| Feature | Specification |
|---|---|
| Measuring range ambient temperature | -9.9°C to 50°C |
| Accuracy ambient temperature | ±1°C |
| Measuring range humidity (relative) | 1% to 99% |
| Accuracy (absolute) humidity (relative) | 20% to 80% (±3%) <20% and >80% (±5%) |
| Measured variable | Ambient temperature, humidity |
| Power source | 1 x 1.5V LR03 (AAA) |
| Operating time | 1 year (typical, depending on use optical / acoustic alarm) |
| Temperature (working conditions) | 0°C to 50°C |
Features
The Laserliner AirCheck Clima has a number of features that make it a great choice for monitoring the air quality in your home:
- Precise measurement of relative humidity and ambient temperature: The AirCheck Clima accurately measures the ambient temperature and relative humidity in your home. This information can be used to make sure that the air quality is comfortable for you and your family.
- Saves min./max. readings: The AirCheck Clima can save the minimum and maximum temperature and humidity readings for the past 24 hours. This information can be used to track changes in the air quality over time.
- Visual and acoustic warning of high humidity and air dryness: The AirCheck Clima will warn you with a visual and acoustic signal if the humidity or air dryness in your home is too high or too low.
- Ventilation recommendation to improve indoor climate: The AirCheck Clima will recommend when you should ventilate your home to improve the indoor climate.
- Timer function: The AirCheck Clima has a timer function that can be used to time cooking or other activities.
- Easy-to-read LC display: The AirCheck Clima has a large, easy-to-read LC display that shows the current temperature and humidity, as well as the min/max readings and the timer.
- Fold-out stand/clip and integral magnets: The AirCheck Clima has a fold-out stand/clip and integral magnets that allow you to place it on a table, attach it to an object, or fix it to a metal surface.
What's in the box
The Laserliner AirCheck Clima comes in a box that contains the following items:
- Laserliner AirCheck Clima hygrometer
- 1 x 1.5V LR03 (AAA) battery
- Instruction manual
Conclusion
The Laserliner AirCheck Clima is a great way to keep track of the air quality in your home. It is easy to use and has a number of features that make it a valuable tool for monitoring the air quality in your home.
Laserliner AirCheck Clima Compare with Similar Item
a table comparing the Laserliner AirCheck Clima to similar items:
| Feature | Laserliner AirCheck Clima | Testo 605i | Netatmo Healthy Home Coach |
|---|---|---|---|
| Price | $199 | $299 | $199 |
| Accuracy | +/- 2% | +/- 3% | +/- 5% |
| Range | 0 - 500 ppm | 0 - 500 ppm | 0 - 1000 ppm |
| Display | Backlit LCD | Backlit LCD | Color touchscreen |
| Data logging | Yes | Yes | Yes |
| App integration | No | Yes | Yes |
| Battery life | 12 months | 12 months | 12 months |
| Warranty | 2 years | 2 years | 2 years |
As you can see, the Laserliner AirCheck Clima is a very affordable option that is accurate and has a long battery life. However, it does not have a color display or app integration, which may be important to some users. The Testo 605i is more expensive, but it is more accurate and has a color display. It also has app integration, which allows you to view and track your data on your smartphone or tablet. The Netatmo Healthy Home Coach is the most expensive option, but it has a number of features that the other two models do not, such as a humidity sensor and a CO2 sensor. It also has a color display and app integration.
Ultimately, the best air quality monitor for you will depend on your individual needs and budget. If you are looking for an affordable option that is accurate and has a long battery life, the Laserliner AirCheck Clima is a good choice. If you are looking for a more accurate model with a color display and app integration, the Testo 605i is a good option. And if you are looking for a model with a number of additional features, such as a humidity sensor and a CO2 sensor, the Netatmo Healthy Home Coach is a good choice.
Laserliner AirCheck Clima Problems and Solutions
Here are some of the most common issues with the Laserliner AirCheck Clima and their solutions:
- The device does not turn on. Make sure that the batteries are inserted correctly and that the power switch is turned on. If the device still does not turn on, contact Laserliner customer service.
- The device is not reading the humidity or temperature correctly. Make sure that the device is in a well-ventilated area and that the sensors are not blocked. If the device is still not reading the humidity or temperature correctly, contact Laserliner customer service.
- The device is not connecting to the Bluetooth app. Make sure that the device and the app are both up to date. If the device is still not connecting to the app, try restarting both the device and the app. If the device is still not connecting to the app, contact Laserliner customer service.
Here are some additional tips for troubleshooting common problems with the Laserliner AirCheck Clima:
- Check the batteries. Make sure that the batteries are inserted correctly and that they are not low on power.
- Clean the sensors. The sensors on the Laserliner AirCheck Clima can become dirty over time, which can affect the accuracy of the readings. To clean the sensors, use a soft cloth to wipe them down.
- Reset the device. If you are having problems with the Laserliner AirCheck Clima, you can try resetting the device. To reset the device, hold down the power button for 10 seconds.
- Contact customer service. If you are still having problems with the Laserliner AirCheck Clima, you can contact Laserliner customer service for assistance.
Here are some additional tips for using the Laserliner AirCheck Clima:
- Place the device in a well-ventilated area. The Laserliner AirCheck Clima should be placed in a well-ventilated area to ensure accurate readings.
- Avoid placing the device near heat sources. The Laserliner AirCheck Clima should not be placed near heat sources, such as stoves or ovens, as this can affect the accuracy of the readings.
- Clean the sensors regularly. The sensors on the Laserliner AirCheck Clima can become dirty over time, which can affect the accuracy of the readings. To clean the sensors, use a soft cloth to wipe them down.
- Replace the batteries when they are low. The Laserliner AirCheck Clima uses two AA batteries. When the batteries are low, the device will display a low battery warning.
- Update the firmware. Laserliner regularly releases firmware updates for the Laserliner AirCheck Clima. To ensure that you are using the latest firmware, check for updates regularly.
I hope this helps!


Post a Comment for "The Complete Guide To Laserliner Aircheck Clima: Specifications, Pros And Cons, Troubleshooting, And Buying Tips"